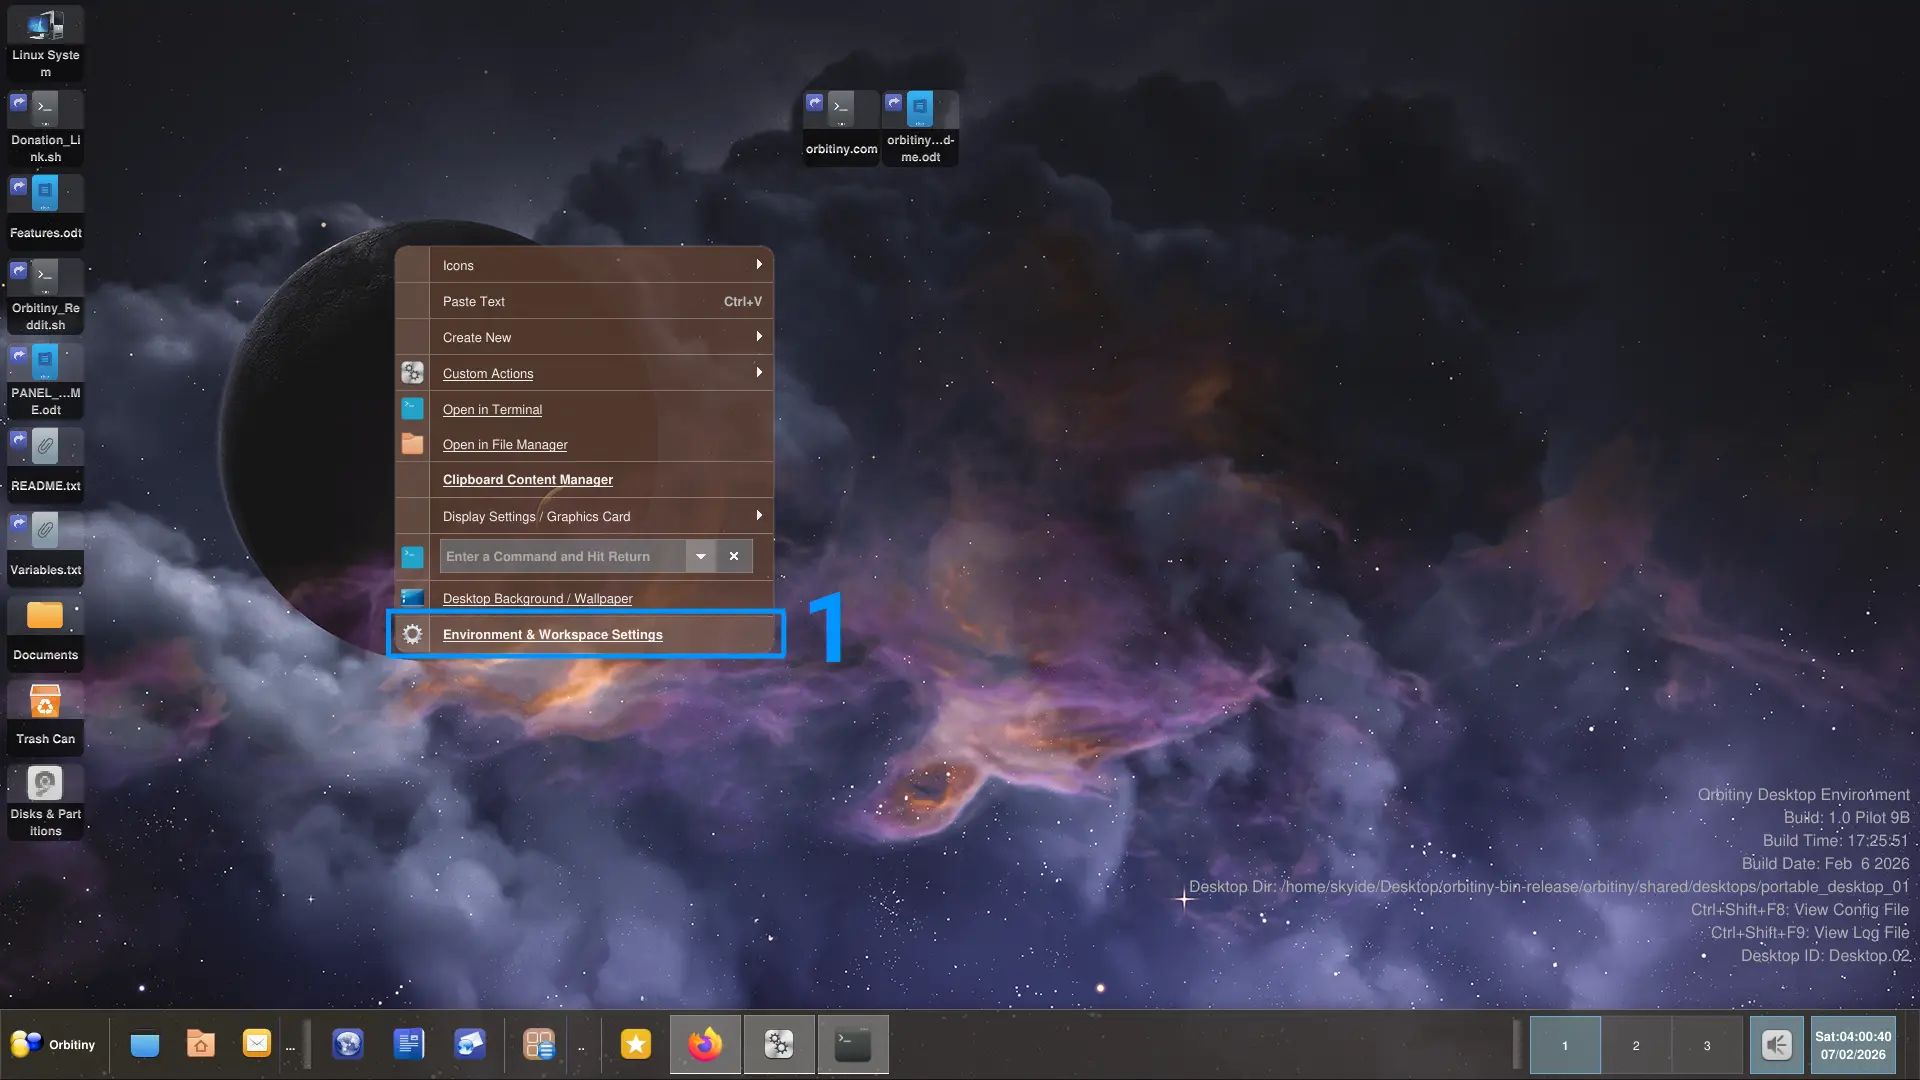
Orbitiny Screenshot Grabber is a new tool that comes with Orbitiny Desktop Pilot 9 but by default, it doesn’t come integrated with the PRNTSCR key or any other key so here is a how to guide that shows you how to that manually (it’s very easy thanks to Orbitiny’s flexible graphical configuration tools).
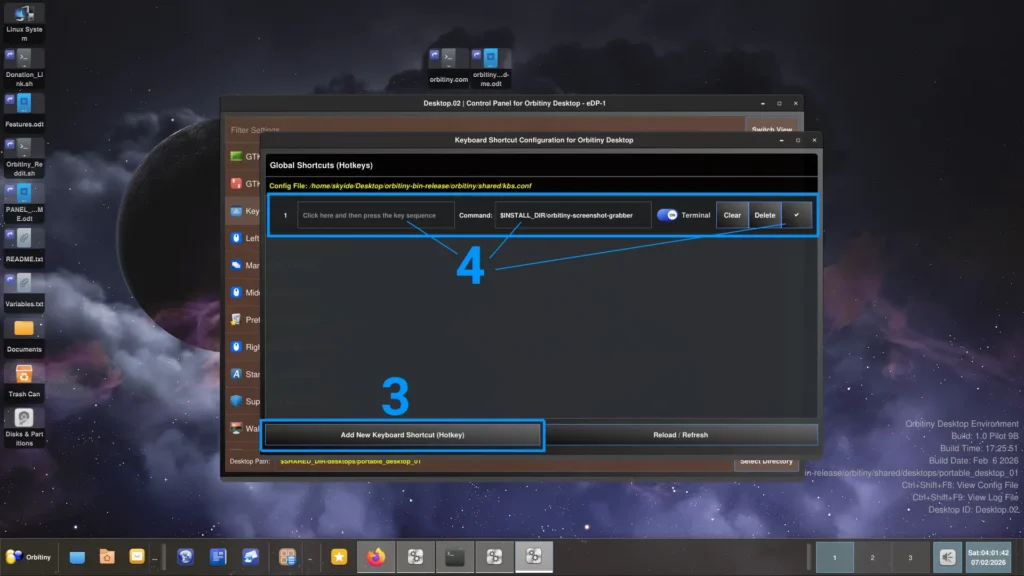
In the command field, turn “Run in Terminal” off (unless you want to run the command in terminal) and enter the following command:
$INSTALL_DIR/orbitiny-screenshot-grabber
Screenshots get saved in: $HOME/Pictures/Screenshots/orbitiny-screenshot-grabber.
I hope that helps.
Manual usage: orbitiny-screenshot-grabber /path/to/dir/to/save/screenshot/in or if left blank, it will be saved in $HOME/Pictures/Screenshots/. A subdirectory called orbitiny-screenshot-grabber will be created and all file names will be generated automatically in sequential order: 00.png, 01.png, 02.png etc.
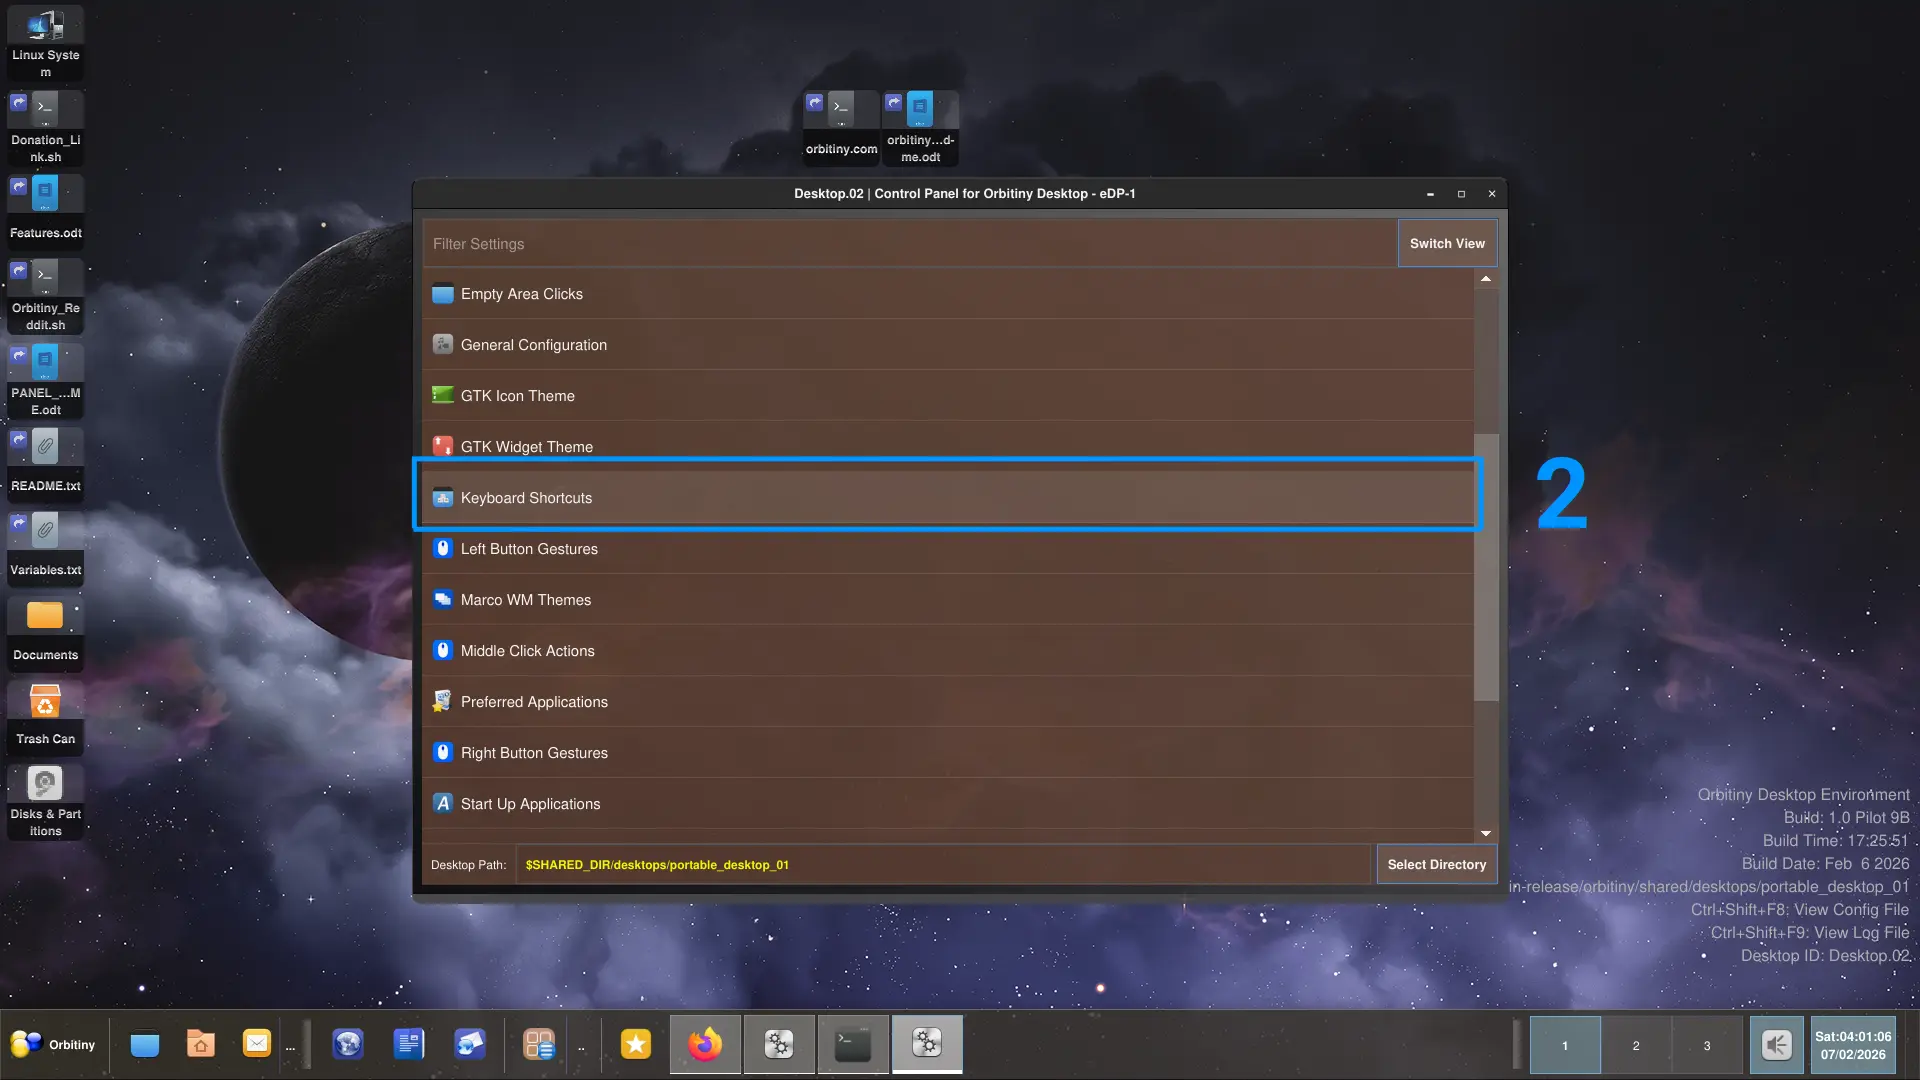
The intended purpose is to be used in combination with the Keyboard Shortcut / Hotkey Configurator that comes with Orbitiny so you can assign a hot key and invoke the utility.
Note, the Pilot 9 version will only take a screenshot of the screen the cursor / pointer is on. It doesn’t take screenshots of all screens but I will add that later as a follow up release.
When a screenshot is taken, the screen flashes (like a camera flash) when the operation succeeds, so it produces visual feedback. If the operation fails, you get an error message.
Bookmark this website, many more tutorials are on the way. Finally, I can show how powerful and flexible Orbitiny really is.
[ratemypost]